
Last updated 9 Oct 2026
Customers book a time with a member of your team. Each staff member has their own working hours, and only free slots are offered.
Bookings is switched on for businesses that take appointments: you choose this when you sign up. If you don't see Bookings in your sidebar, contact us and we'll turn it on for you.
1. Add a staff member
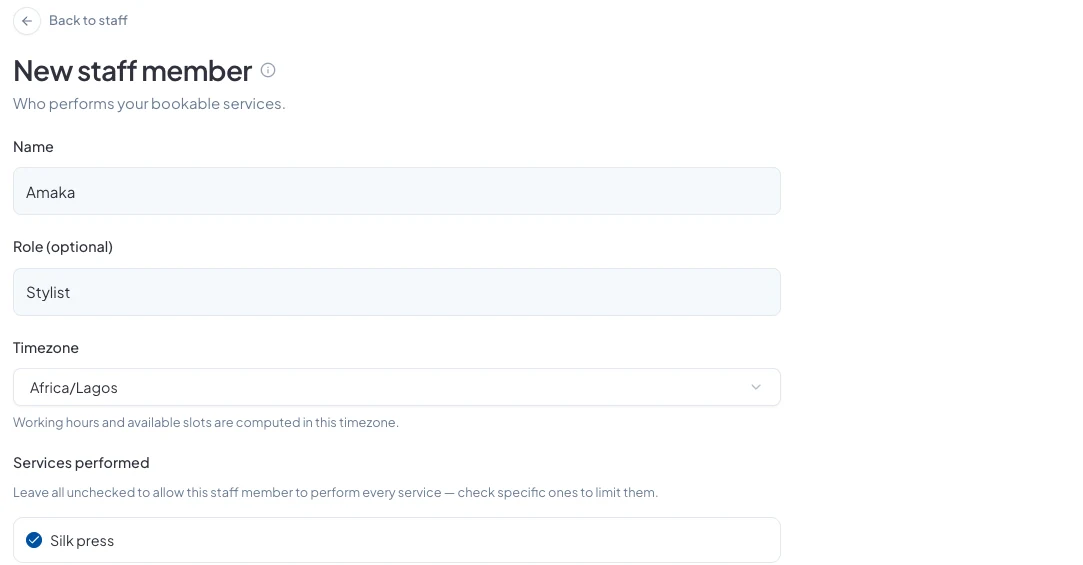
Go to Bookings → Services, open the Staff tab and click New staff member. Enter their Name, a Role if you like (such as Stylist), and their Timezone.
Under Services performed, tick the services they deliver. Leave them all unticked and they can do every service. Click Create staff member.
2. Set their working hours
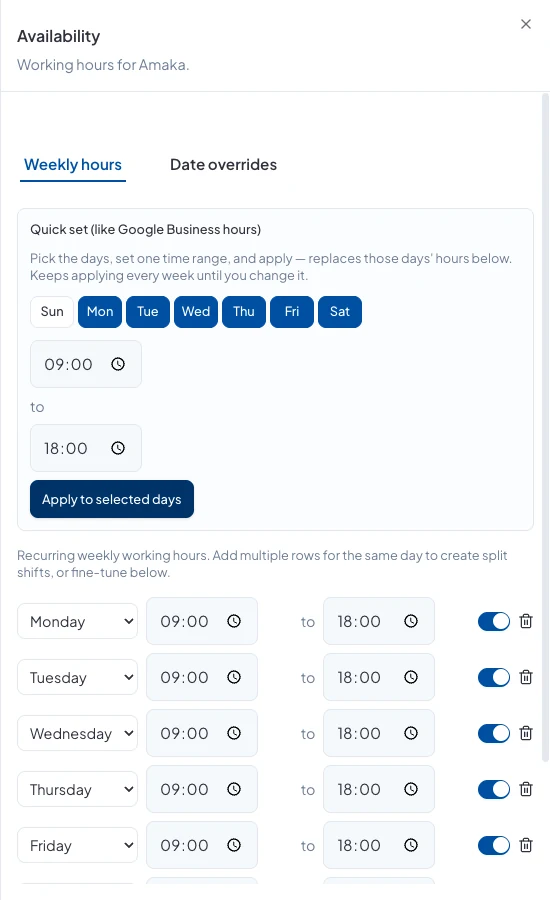
Go to Bookings → Schedule, choose the staff member and click Set hours.
The quickest way is Quick set: pick the days, set one time range, and click Apply to selected days. Then fine-tune each day below. Use Add shift to split a day, for example 9:00 to 13:00 and 14:00 to 18:00. Click Save hours.
3. Block off days off
On the Date overrides tab, add the dates someone is away or you're closed. Those days won't take bookings.
Check the calendar
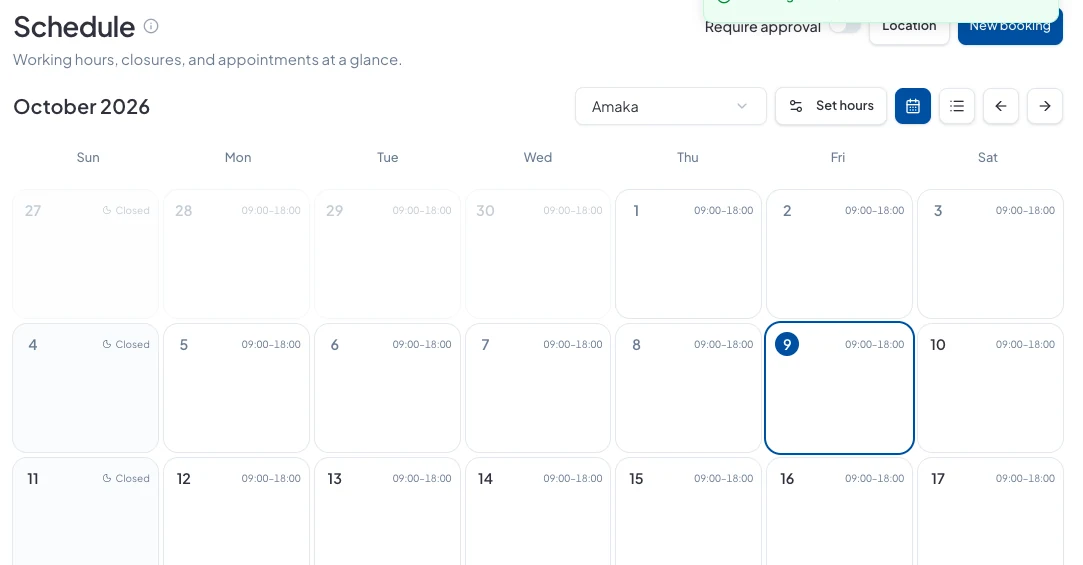
The schedule shows each day's hours at a glance, and Closed on days with none.
Good to know
- Two customers can't book the same person at the same time; the second is asked to pick another slot.
- Turn a staff member's Active switch off to stop them taking bookings without deleting them.
Did this answer your question? Contact support if you need more help.